Tuesday, August 27, 2013

Big Shot - Scalloped Background/Foreground


 Get together: -
-     Big Shot and Tasteful Trim Die
-     Designer Series Paper Scraps  - at least the length of an A5 Card
-     Cardstock for card base and other decorating
-     Stamp Set, ink pad and other decorating items of your choice.


Just as an extra tip before we start, I found this great idea for storing DSP scraps in a magazine.  For paper packs in pads like the DSP Paper stacks I’ve stuck a plastic file pocket in the back to hold all the scraps in place.  The magazine tip used an envelope but I liked the idea of being able to see what I had.


I chose to use paper scraps that were the full 12” long as that is the length of the die.  I cut them to 5cm wide, wider than the die to make sure the strips didn’t slide of the side of the die.


I had eight strips of DSP and as the Big Shot is able to cut up to nine placed them in a pile on top of the Scallop section on the side of the die.  I chose to use the scallop because it had one straight edge.

Run the die through the Big Shot as normal.


Choose your cardstock, any colour will do as it won’t be visible in the finished project.  Cover in adhesive.  I used a Multi Purpose adhesive sheet.  
 

Lay your strips of DSP on the cardstock in a pattern that suits you.


When you’re happy with how it looks cut into the size needed for your project.  Mine were cut to 95x138mm for use as a background on my card.  Although not a lot of embellishing was needed with these bright colours so maybe it’s also the foreground.


Add embellishments and finish off your card.


Friday, August 23, 2013

Tips & Tricks - Sharp Creases

There are lots of different ways used by card makers to get a sharp crease in their card bases.  I prefer this very simple method that just uses one very inexpensive tool.


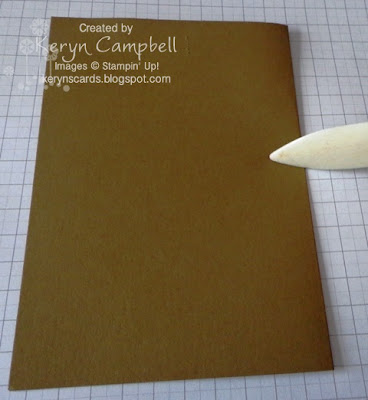
To start I fold my card base in half lining up the corners and crease the fold line with my fingers.  As you can see from the photo it's not a very sharp fold and it's very difficult to work with a surface that isn't flat.

Next I grab my bone folder and run the edge along the fold.
This is the nice flat surface I now have to work with.  It also makes sure that your finished card stands nicely once it's been received by your recipient.
Bone folders are also great for running down the track in a paper trimmer to create a score line, burnishing punched/die cut shapes to create dimension and sharpening creases in 3d items such as boxes. 


Tuesday, August 20, 2013

Tips & Tricks - Filling Cellophane Bags

The smallest cellophane bag size is great for quick and easy gifts such as workshop door prizes like these ones.


At just $5.50 for a pack of 50 with the flowers using up scrap cardstock the most expensive part of the gift is the jaffas. 

However being only 2.5cms wide they are a bit fiddly to fill so I was very pleased when Sharlene, my team leader, told me about this trick.  Thanks Sharlene.


Clear cellophane bags never photograph well so I hope you can see that I've taken another scrap of cardstock about 2.5 x 7 cms, folded it in half and used it to both hold the bag open and to act as a funnel to get the Jaffas into the bag.

These are the products I used to make this project: - 

2.5x20cm Cellophane Bags - 124134
 
Scraps of Whisper White and Pumpkin Pie Cardstock

Real Red Classic Stampin' Pad - 126949

Mixed Bunch Stamp Set - 128442 (wood), 125537 (clear)

Blossom Punch - 125603

1" Circle Punch -119868

3/4" Circle Punch - 119873